Image optimization is one of the highest-impact fixes for WordPress speed. At MD3 Digital Solutions, we created this guide to help your images work for you.
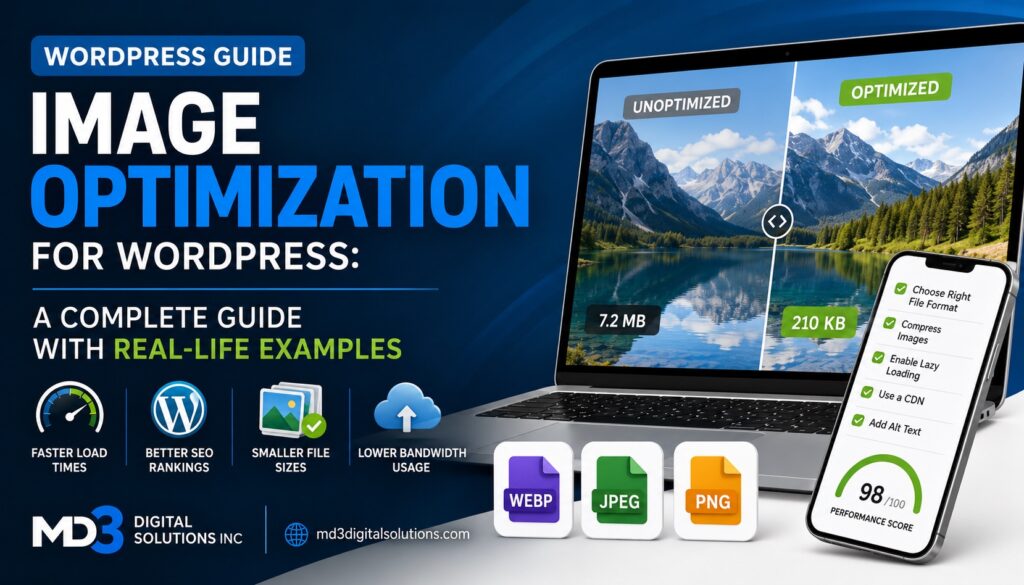
Images are one of the biggest contributors to slow WordPress websites. Studies from Google show that pages taking longer than three seconds to load lose more than half of their visitors. Optimizing your images is one of the fastest and most impactful things you can do to improve your site’s performance, user experience, and search engine rankings.
In this guide, we will walk through proven image optimization strategies with real-life examples you can apply to your WordPress site today.
Unoptimized images can silently destroy your website’s performance. Here is why it should be a priority:
Consider a freelance photographer who built a WordPress portfolio using high-resolution images straight from a camera. Each photo was roughly 8–12 MB in size. The homepage loaded in over 18 seconds on a mobile connection.
After compressing images, converting them to WebP format, and enabling lazy loading, the same homepage loaded in under 2.1 seconds. The photographer saw a 40% increase in inquiry form submissions within the first month after the change.
Selecting the correct image format is the foundation of optimization. Each format serves a different purpose:
An online clothing store was uploading product photos as PNG files averaging 4 MB each. After switching to WebP format using the Imagify plugin, the same images averaged 350 KB — a reduction of over 90% — with no visible difference in quality on product pages.
Image compression reduces file size by removing unnecessary data. There are two types:
One of the most common and costly mistakes in WordPress is uploading images much larger than they will ever be displayed. If your blog content area is 800px wide, there is no reason to upload a 4000px wide image.
A popular food blog was uploading recipe photos at 5000 x 3500 pixels directly from a DSLR camera. The blog’s theme displayed those images at a maximum of 900 x 600 pixels. By resizing images to 1800 x 1200 pixels before uploading (allowing for Retina screens), the blogger reduced average image file sizes from 7 MB to under 400 KB with zero visible difference to readers.
You can resize images before uploading using free tools like:
Lazy loading delays the loading of images that are not visible in the browser’s viewport until the user scrolls down to them. This dramatically improves initial page load time, especially on long pages.
Since WordPress 5.5, lazy loading is enabled by default for images using the native loading="lazy" HTML attribute. You do not need a plugin for basic lazy loading, but plugins like Smush and WP Rocket offer enhanced lazy loading with additional customization.
A real estate website featured property listing pages with up to 40 photos per property. Without lazy loading, all 40 images loaded simultaneously, causing the page to take over 12 seconds to become interactive. After enabling lazy loading, the page became interactive in under 3 seconds, because only the first few visible images loaded initially.
A Content Delivery Network (CDN) stores copies of your images on servers around the world and serves them to visitors from the location closest to them. This reduces latency and dramatically speeds up image delivery for international audiences.
A handmade goods store based in New York was seeing high bounce rates from visitors in Australia and Europe. After implementing Cloudflare CDN, image load times for international visitors dropped from 8–10 seconds to under 2 seconds, and international conversions increased by 28% in the following quarter.
WordPress automatically generates multiple sizes of every image you upload — thumbnail, medium, large, and full size. It also allows themes and plugins to register custom sizes. Over time, this creates thousands of unnecessary image files on your server.
Use the plugin Regenerate Thumbnails after changing your theme or image size settings to clean up outdated sizes. The plugin Imagify also lets you disable image sizes you are not using to save storage space.
Alt text is not only an accessibility requirement — it is also a significant SEO signal. Screen readers use alt text to describe images to visually impaired users, and search engines use it to understand image content.
WordPress automatically adds the srcset attribute to images, which tells browsers to load the appropriately sized image based on the visitor’s screen size and resolution. This means a user on a mobile phone loads a smaller image file, while a desktop user loads a larger one.
Make sure your theme is built on modern WordPress standards so it takes full advantage of this feature. Themes built after WordPress 4.4 generally support responsive images out of the box.
Image optimization is not a one-time task. As you add new content, new unoptimized images will enter your media library. Use these tools to audit and maintain your image health:
Image optimization is one of the highest-impact, lowest-effort improvements you can make to a WordPress website. As the real-life examples in this guide demonstrate — from photography portfolios to global e-commerce stores — the results are measurable and often dramatic. Start with a free tool like Google PageSpeed Insights to identify your biggest image issues, then work through the strategies above one step at a time.
Even modest improvements to your image optimization can translate into faster load times, better search rankings, lower bounce rates, and ultimately more conversions and revenue for your WordPress site.
AI assistant — answers may be inaccurate.